
Welcome to the first of the three-part series of Tips to Take Great Photos with Your iPhone Camera. There are so much more that you can do with your iPhone’s camera and this is the first five twt (tips with techTography) on how to take great photos quickly and easily.
Access the Camera
To access your iPhone’s camera, there are numerous routes you can follow.
1) Lock Screen
The quickest way to access the camera app is through the lock screen. To open it, just lift your iPhone or press the lock or home button to turn on the display, then swipe from right to left.
2) Control Centre
Opening the camera from your the Control Centre depends on the iPhone model you have. Here are the two ways to access your iPhone’s Control Centre:
2.1) iPhone X and Newer
Swipe down from the top right of the screen to open Control Centre and tap on the camera icon.
2.2) Earlier than Phone X
Swipe up from the bottom of the screen to open Control Centre and tap on the camera icon.
3) Siri
Ask Siri to open the camera just by saying “Hey Siri, open camera”.
4) Search
You can also swipe down on the Home Screen (not from the top of the screen) to open the search function and search for “camera”.
5) Open with Camera Icon
5.1) Long-Press or 3D-Touch
If you long-press to activate Haptic Touch (iPhone 11, 11 Pro, 11 Pro Max and XR) or 3D-touch (iPhone 6s and newer – except iPhone SE and XR), a popup menu will open and you can choose between taking a selfie, record video, opening in photo mode or slo-mo.
5.2) Tap to open
If you know exactly where your camera app is on your Home Screen, you can simply tap on it to open.
Which of these ways to you use to open your Camera App? Let me know in the comments.
Shutter Button
You can use the volume up or volume down buttons as a shutter trigger, instead of pressing the white circle on the screen. This is especially useful when you take a photo in landscape orientation, because of the way you hold your phone. In a sense, it feels like you’re taking a photo with a camera by pressing a button and not tapping a screen.
A wired Apple earphone set can also be used to trigger the shutter by pressing either the volume up or volume down buttons. Some Bluetooth headsets also support this function, but this is something you will have to test yourself.
Let me know which Bluetooth headsets support this function? I tested it with my Jaybird X3’s and it did not work, unfortunately.
Burst Photos
Burst mode allows you to take several consecutive photos at approximately ten photos per second. Do this by tapping or pressing any aforementioned shutter button and holding it for the duration you want to take the photos.
This can be extremely helpful when you need to take action shots of moving subjects. You can either keep all the photos or select the best of the crop and delete the rest.
Apple Watch and Timer
Apple Watch
This is probably one of the neatest tricks I will mention throughout this series. If you own an Apple Watch, you have the ability to use it as a monitor, trigger and timer.
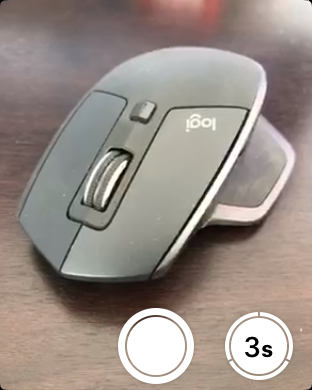
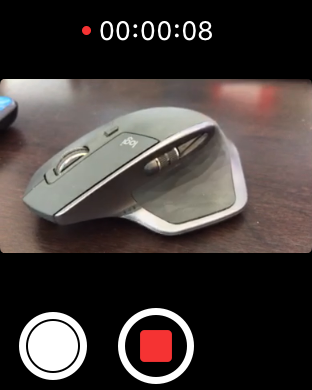
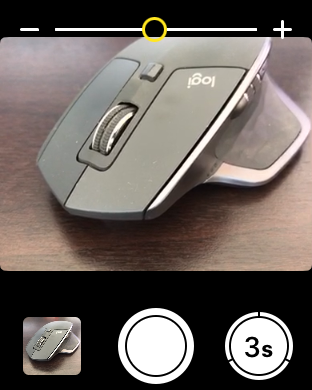
When you open the Camera app on your Apple Watch, it automatically opens the camera on your iPhone and gives you a live feed. On the Watch screen, you will see a shutter button as well as a three-second timer button.
When a photo is taken, it appears in the bottom left corner and you can view all the photos you have taken since opening the Camera app from your Watch.
Portrait Mode 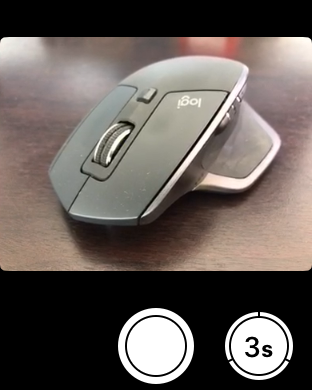
Landscape Mode 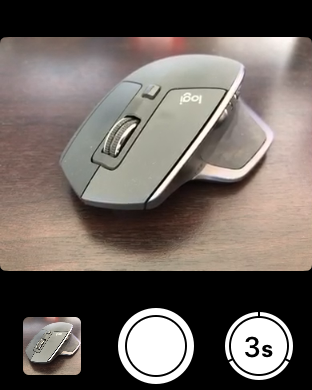
Gallery in Bottom Left Corner 
Full-Screen View of Photo in Gallery
You can also start and stop a video recording using your Apple Watch, but you need to change from photo to video mode on your iPhone itself.
P.S. The Camera app launches in photo mode by default.
There is also the option to zoom in and out using the digital crown.
Using your Apple Watch, you can now set up the iPhone on a tripod or whichever surface is available and move over to where you need to be in the photo. Then, by looking on your Watch, you can make sure you are in the frame and press the three-second timer to give you enough time to look up from your Watch and share the special moment with your loved ones.
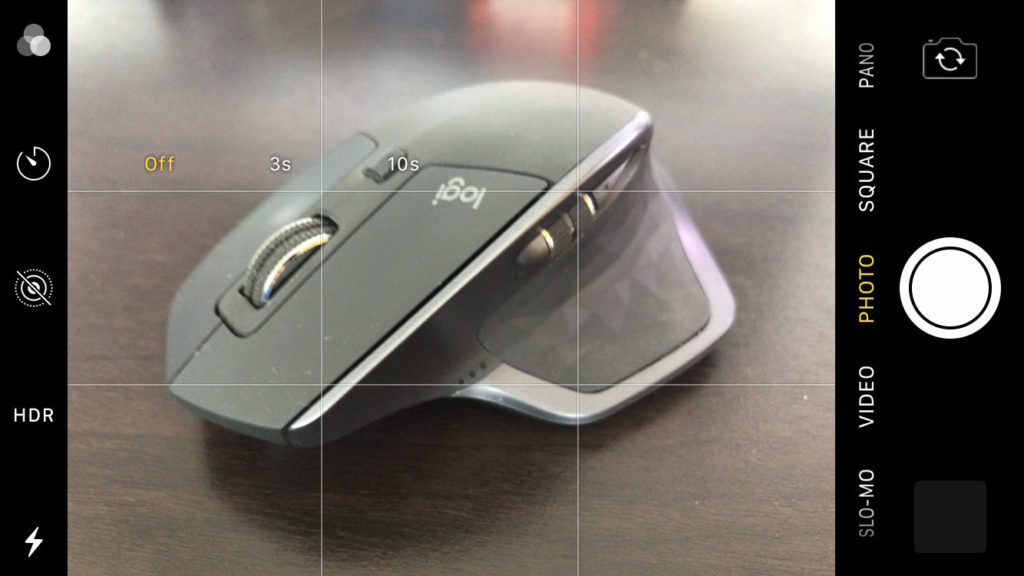
Timer
Speaking of the timer, if you don’t own an Apple Watch you can use the timer on the iPhone for the same scenario as mentioned above. You have a choice between a three-second or ten-second timer on the iPhone as opposed to just the three-second timer on the Watch.
Eliminate Shake When Pressing the Shutter
A more technical application of using an external shutter is the ability to eliminate vibration when tapping on the on-screen shutter button or the volume buttons on the iPhone.
In low-light conditions when the shutter needs to stay open for longer, any vibration during the time it’s open, will be picked up by the sensor and result in a blurry photo.
Closing
These were the first five tricks in my three-part series of Tips to Take Great Photos with Your iPhone Camera. Let me know in the comments which of these tips you did not know about and whether it was helpful to you.
Interesting Read
twt: Effortlessly Manage Your iPhone Storage
Tips to free iPhone storage space from being unnecessarily used
Photo Credit: Koby Kelsey